Trimming your dog’s nails is one of those grooming tasks most owners dread — and many dogs dread even more. But learning how to trim dog nails at home is one of the best things you can do for your pup’s comfort and long-term health, and it doesn’t have to be a wrestling match. With the right tools, a calm setup, and a step-by-step approach, nail trims take just a few minutes per paw. This guide covers everything you need: why nail care matters, how often to trim, which tools to choose, the exact trimming technique, how to avoid the dreaded quick, and what to do when your dog would rather be anywhere else. By the end, you’ll have the confidence to keep those nails neat between grooming appointments — saving money and stress for both of you.
Why trimming your dog’s nails matters
Your dog’s nails aren’t just cosmetic. When nails grow too long, they change the way your dog stands and walks: long nails push the toes apart and force the foot into an unnatural position, which can cause joint pain and soreness over time — especially in older dogs or large breeds. Overgrown nails are also more likely to snag on carpets, crack, or tear, which is painful and can lead to infection. Dogs with long nails may slip more on hardwood or tile because they can’t grip the floor properly. Regular trims also keep the quick — the blood vessel inside the nail — shorter, which makes every future trim easier and safer.
How often should you trim your dog’s nails?
For most dogs, every three to four weeks is a good rhythm. Dogs who walk regularly on pavement or concrete naturally wear their nails down and may need trims less often, while less active or senior dogs — and most small breeds — usually need them more frequently. A simple rule of thumb: if you can hear your dog’s nails clicking on hard floors, it’s time for a trim. Ideally, nails should just barely touch the ground when your dog is standing. Start handling your puppy’s paws and trimming tiny amounts from an early age so the routine feels normal as they grow.
Nail trimming tools: clippers vs. grinders
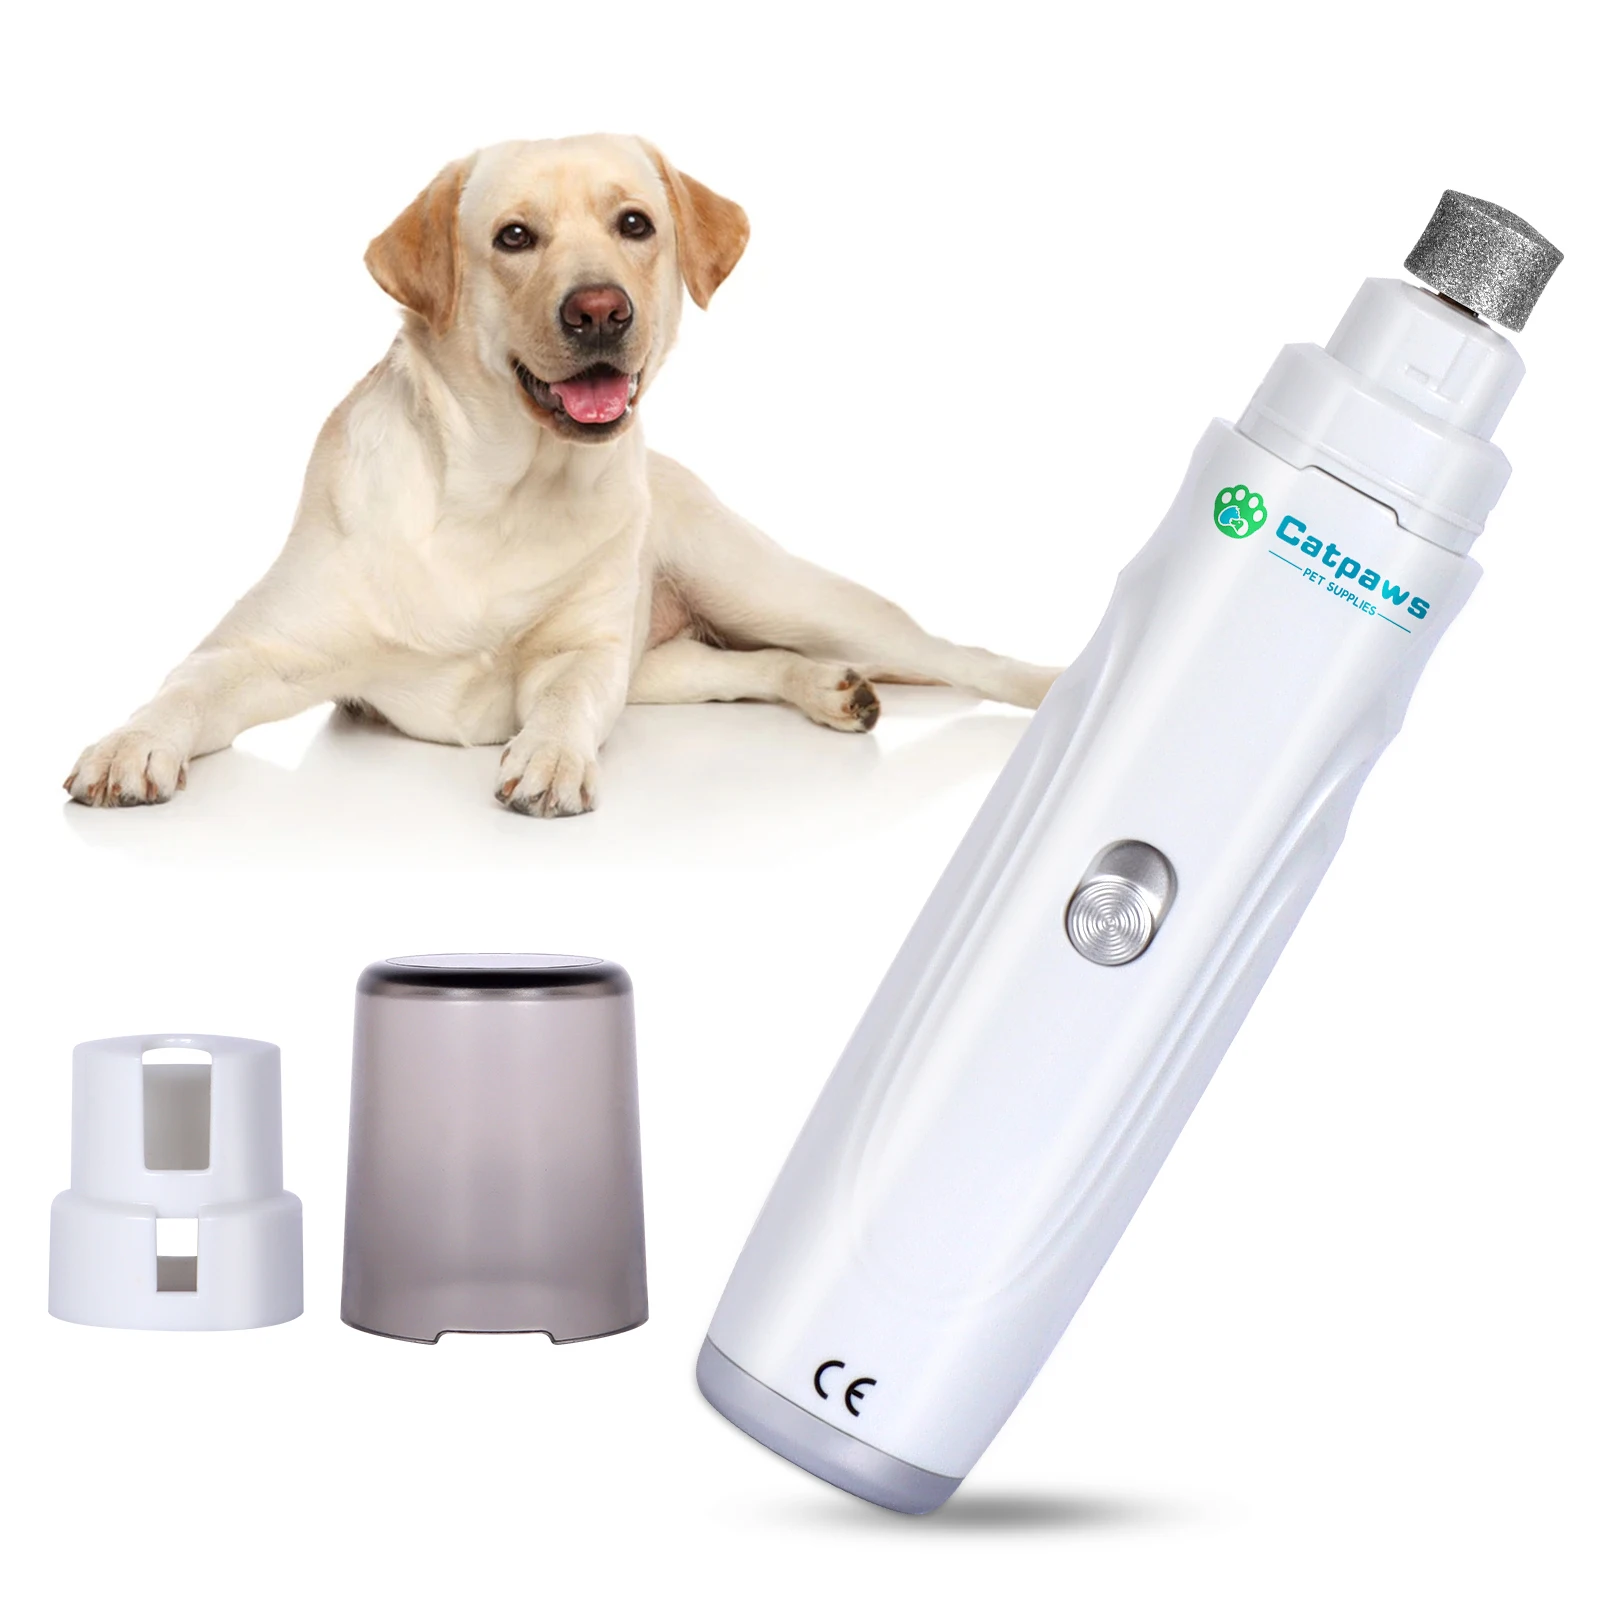
You have two main options: nail clippers and nail grinders. Scissor-style (also called plier-style) clippers are the most common — they’re inexpensive, fast, and work well for small to medium dogs once you’re confident. Clippers remove length in one quick snip, which is efficient — but it also means a bigger mistake if you cut too far. A nail grinder files the nail down gradually with a rotating bit, giving you much more control and leaving a smooth, rounded edge that won’t snag on fabrics. Grinders are especially helpful for dogs with dark nails, where the quick is hard to see, and for nervous dogs, since there’s no sudden ‘snip’ — though some dogs need time to get used to the buzzing sound and vibration. Look for a quiet, low-vibration model with multiple speeds, like the USB Rechargeable Pet Nail Grinder from Pawzis, designed for gentle, regular at-home use. Whichever tool you choose, keep styptic powder nearby to stop bleeding fast if you nick the quick — and keep the treats coming. You’ll find these and other essentials in our Dog Grooming collection.
Step-by-step: how to trim dog nails at home
Ready to trim? Work in good light, keep treats within reach, and take it slow — especially the first few times. You can do all four paws in one session or spread them across several days; both are fine.
- Settle your dog in a calm spot. After a walk or play session is ideal, when your dog is relaxed. Sit on the floor with them or have them lie on their side.
- Handle the paws first. Gently hold each paw and press the pad lightly to extend the nails, rewarding calm behavior. If your dog pulls away, go back to simple paw touches and treats.
- Find your cutting line. On light nails you’ll see the pink quick — cut 2–3 mm in front of it at a 45-degree angle. On dark nails, trim thin slices and check the cut surface; stop when a gray or pinkish oval appears in the center.
- Trim small amounts. Take off less than you think you need — you can always trim more, but you can’t undo a cut into the quick. With a grinder, touch each nail to the bit for 2–3 seconds at a time to avoid heat buildup.
- Don’t forget the dewclaws. These ‘thumbs’ on the inner leg never touch the ground, so they don’t wear down naturally — and they’re the most commonly forgotten nails.
- Reward generously. Treat after each nail or each paw, and end with play or a favorite activity so your dog remembers nail trims as a good thing.
How to avoid the quick — and what to do if you nick it
Even experienced owners occasionally cut the quick, so don’t panic if it happens. The best prevention is trimming little and often: smaller, more frequent trims keep the quick short and give you a bigger margin of error. On light nails the pink quick is visible — always leave a few millimeters of nail in front of it. On dark nails, work in thin slices and watch the cross-section after each cut; when the center turns from dry and flaky to smooth with a darker dot, stop.
If you do draw blood, stay calm — your dog takes cues from you. Apply styptic powder with gentle pressure for 10–15 seconds, or press a clean cloth against the nail if you don’t have any. Cornstarch works in a pinch. Bleeding from the quick usually stops within a few minutes. Give your dog a treat, take a break, and finish the rest another day if either of you is rattled. If bleeding doesn’t stop after 10–15 minutes of pressure, call your vet.
Tips for anxious dogs
The secret is desensitization: break the process into tiny steps and reward each one. Start by touching and holding your dog’s paws during cuddle time, giving a treat each time. Next, introduce the tool — let your dog sniff the clippers or grinder while it’s off, then turned on at a distance, pairing every step with treats. A lick mat smeared with peanut butter keeps many dogs happily distracted during the actual trim. Keep sessions short: even one nail per day is progress. If your dog growls, snaps, or panics, stop — pushing through fear makes the next session harder. Slow, positive experiences win every time.
When to ask a groomer or vet for help
DIY trims are great, but some situations call for a professional. Book a groomer or vet visit if your dog’s nails are severely overgrown or curling into the paw pads, if a nail is cracked, split, or looks infected, or if your dog becomes aggressive during trims despite gradual training. Dogs with conditions like diabetes or clotting disorders — and dogs on blood-thinning medication — should have their nails trimmed by a vet. There’s no shame in getting help: a professional trim every few weeks can even reset overgrown nails so your at-home maintenance becomes easier.
Frequently asked questions
How do I know if my dog’s nails are too long?
If you hear clicking on hard floors, or the nails splay the toes outward while your dog stands, they’re overdue for a trim.
Can I use human nail clippers on my dog?
It’s not recommended. Human clippers aren’t strong enough for most dog nails and can crush or splinter the nail instead of cutting cleanly. Dog-specific clippers or a pet nail grinder are safer and far more comfortable.
How often should I trim my puppy’s nails?
Start handling your puppy’s paws and trimming tiny amounts from 8–10 weeks old, aiming for a light trim every 2–3 weeks. Early, positive experiences make lifelong nail care easy.
What should I do if my dog won’t let me touch their paws?
Go back to basics: reward your dog for letting you touch a paw, then for holding it briefly, building up over days or weeks. If fear persists, ask your vet or a certified trainer about cooperative care training — and have a groomer handle trims in the meantime.